The portability of laptops make them a popular choice among instructors. The screen size, however, can make it difficult to see text or work with multiple windows open. One solution embraced by a growing number of people is to connect the laptop to an external monitor and adjust the display settings. Assuming the external monitor has a larger screen, the user can simply mirror the image from the laptop onto the external monitor, thereby easily increasing the window and font size. By using the extended display, rather than mirroring, the user gains more "real estate" and can spread out different applications and windows across multiple screens.
When the laptop is connected to a projection system in a classroom, the user also has the ability to change the display settings, thus controlling both what the user sees on the laptop and what the audience sees on the screens in the room. Once again, the laptop and projection screens can show the same content (mirroring), or the laptop and projection screen can show completely different content (extended display). It is important to know how to change the display settings so you can adjust for different needs and audiences.
In today's tip, we show you how to change the display settings on both a PC and a Mac. In a future tip, we will discuss how the display settings function differently depending on whether you are using PowerPoint or Google Slides.
Display Settings on a Mac
Method 1
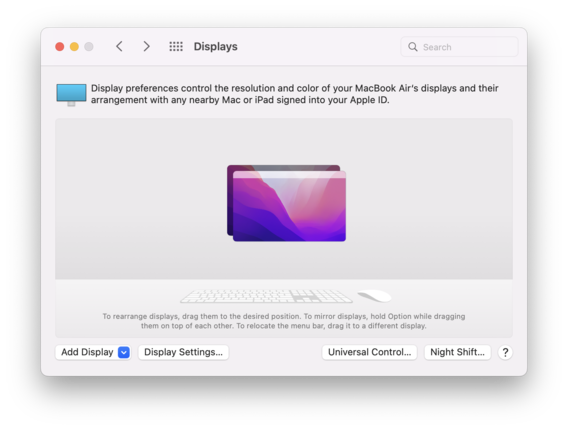
Open System Preferences > Displays > If the display is set to mirroring, you will see the windows mirrored as shown below.
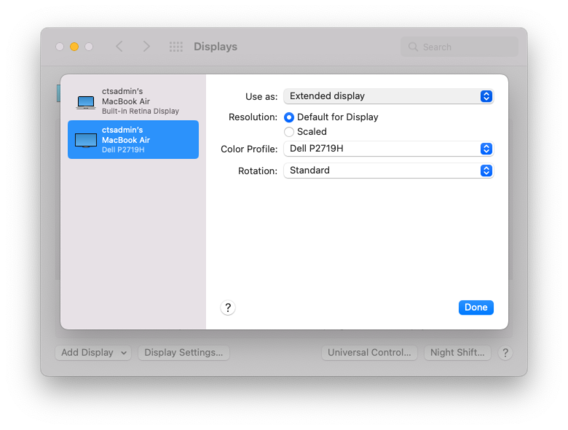
Click on Display Settings to choose from the drop down menu which screen should be set to the "extended display."
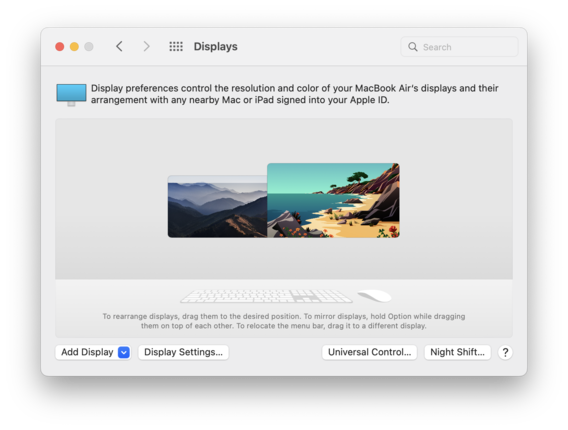
Now you will see the two screen side-by-side in “Extended” mode (the content appears to the be the same in this image from display settings. What you should notice is that the screens are separate).
Method 2
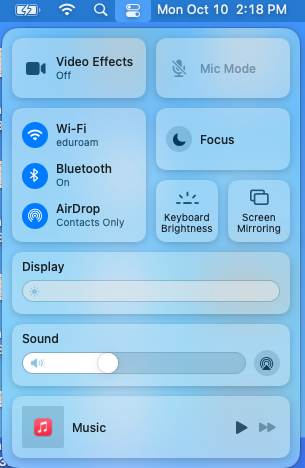
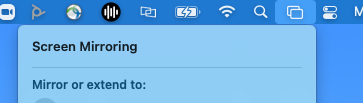
You also quickly toggle between these modes using the pop-up menu to the left of the date/time on the menu-bar here by choosing Screen Mirroring. And if you want it to be in your menu bar for even quicker access, click and drag the “Screen Mirroring” icon here to your menu bar. (Any of these can be added to your menu bar.)

Display Settings on a PC
Method 1
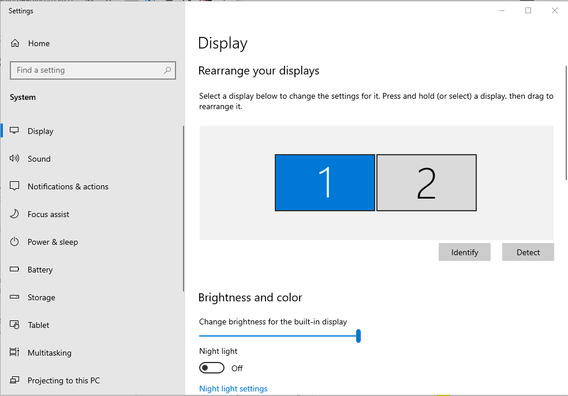
You can toggle between modes by using Settings > Displays and choosing either Duplicate or Extend from the dropdown menu under Multiple Displays.

Method 2
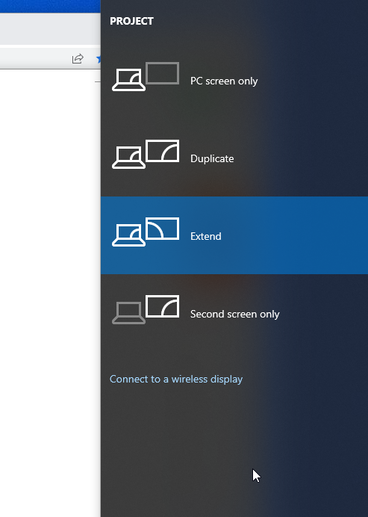
You can also quickly toggle between display modes by holding down the Windows key and tapping P, moving from “Duplicate” mode to “Extend” in this quick switch menu.
Finally, you can rearrange the screens by clicking and dragging them to a new position.
With these few tips, you'll be able to set up your next presentation in class and make use of a second monitor to enlarge your workspace.